Filesystem MCP server guide
Overview
The Filesystem MCP server provides access to the local filesystem, allowing AI agents to read and write files as part of their workflows.
Since most AI agent host applications like IDEs already have access to your working directory, this MCP server is primarily useful for access to files outside your working directory, headless environments where the host application does not provide filesystem access, or for demonstrating MCP capabilities.
Metadata
Expand to view the MCP server's metadata
Name: filesystem
Type: container
Description: Allows you to do filesystem operations. Mount paths under /projects using --volume.
Tier: Community
Status: Active
Transport: stdio
Image: docker.io/mcp/filesystem:latest
Has Provenance: No

Permissions:
  Network:
Repository URL: https://github.com/modelcontextprotocol/servers
Popularity: 77164 stars, 20619 pulls
Last Updated: 2026-01-26T02:48:41Z

Tools:
  - read_file
  - read_multiple_files
  - write_file
  - edit_file
  - create_directory
  - list_directory
  - directory_tree
  - move_file
  - search_files
  - get_file_info
  - list_allowed_directories

Tags:
  create_directory, edit_file, filesystem, get_file_info, implementing, list_allowed_directories, list_directory, move_file, node, operations

Example Command:
  thv run filesystem
Usage
- UI
- CLI
- Kubernetes
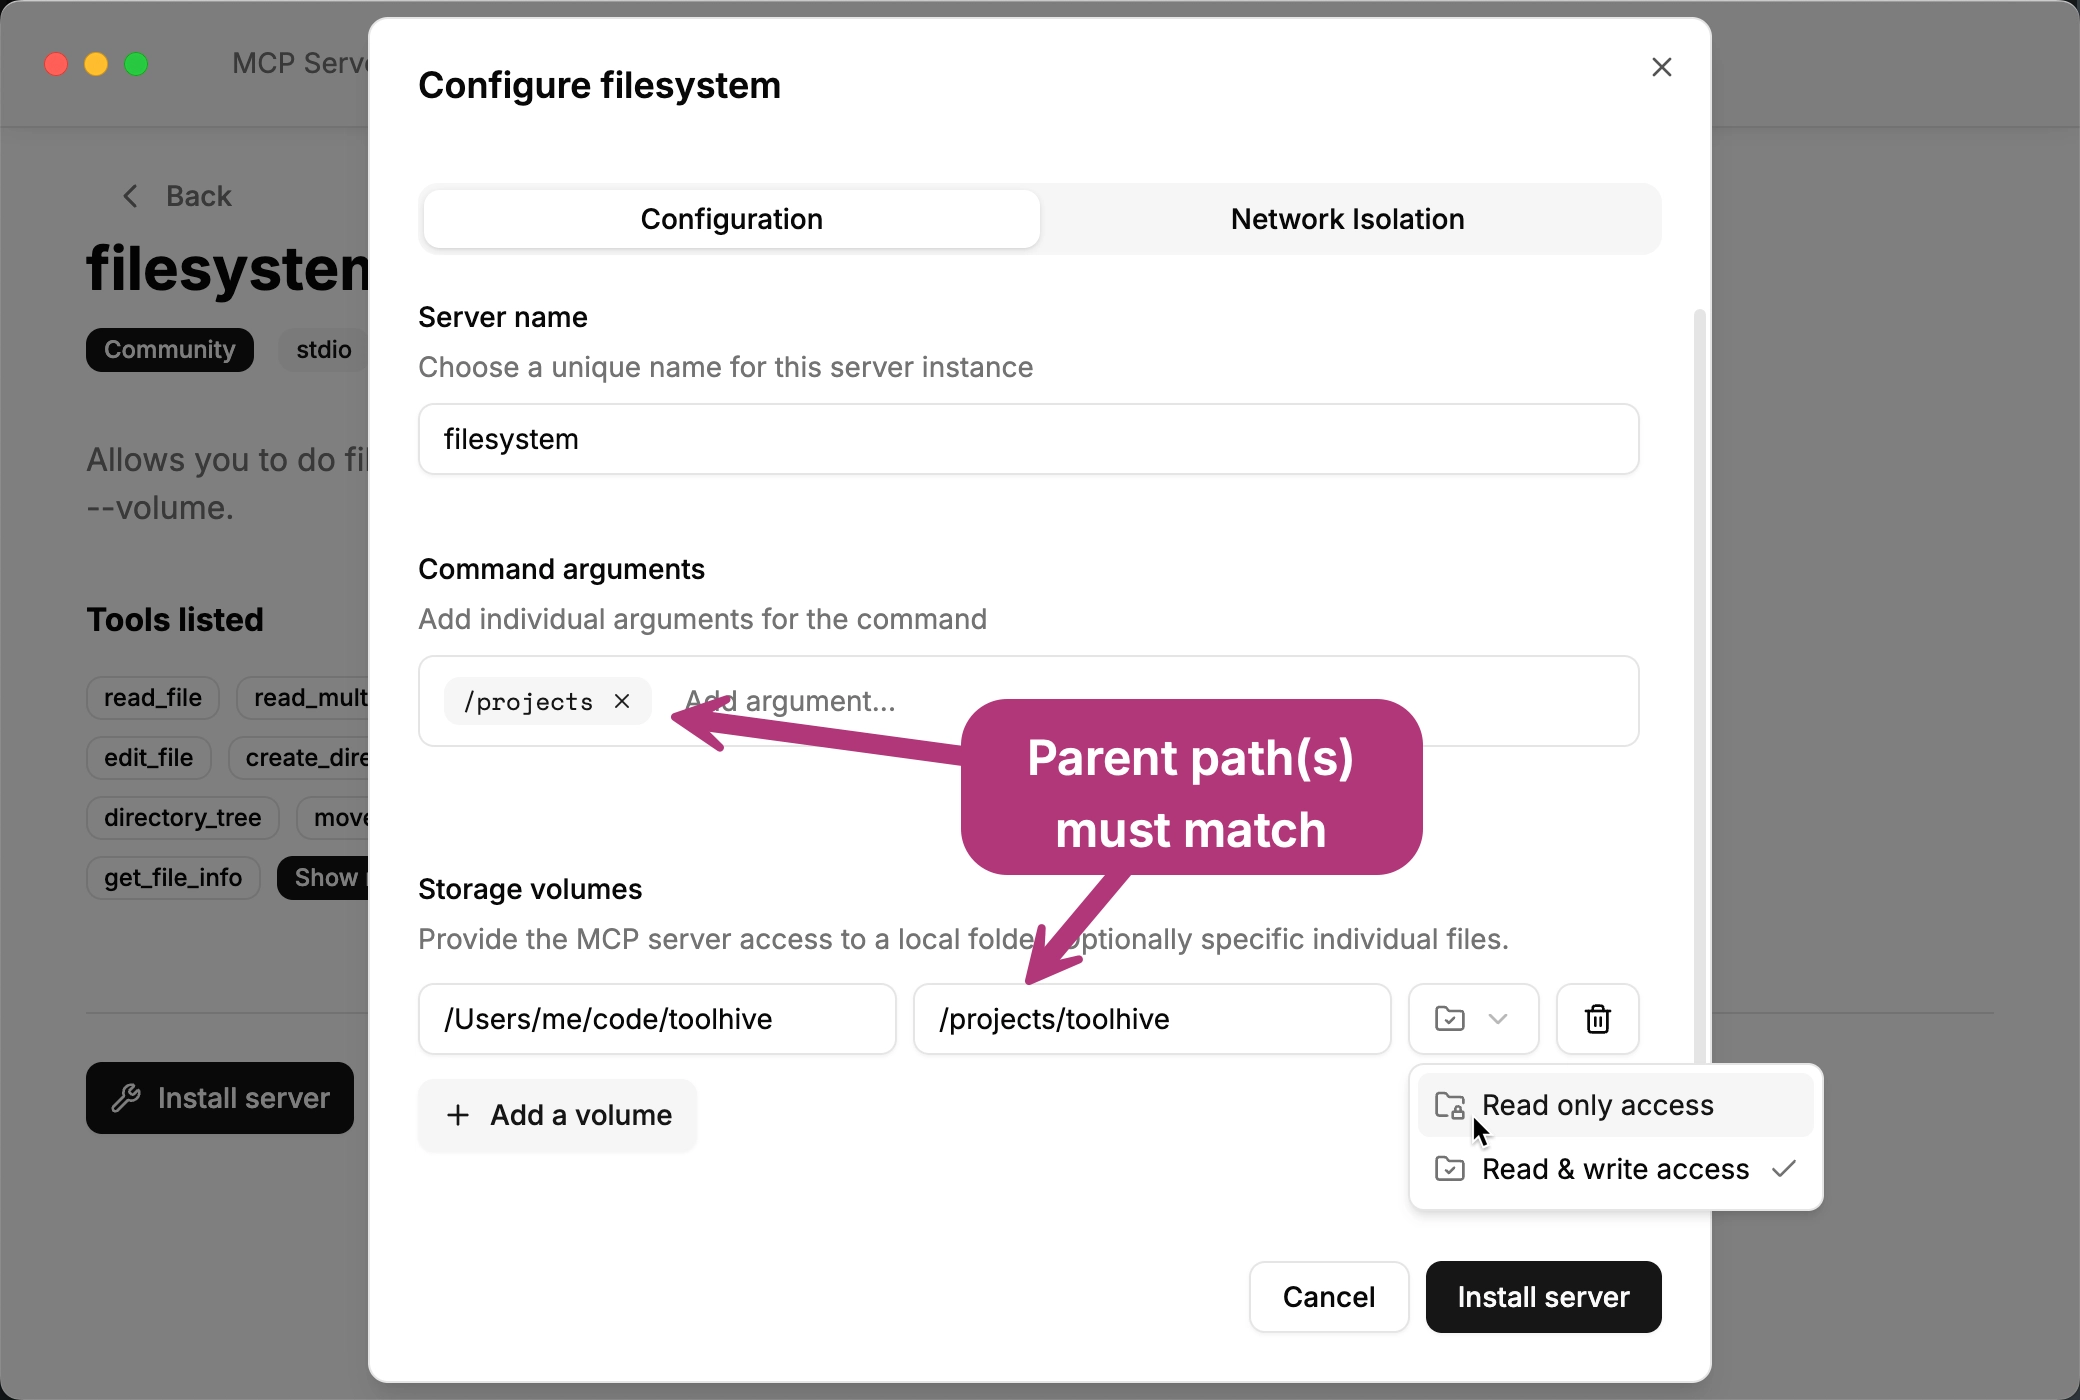
Select the filesystem MCP server in the ToolHive registry.
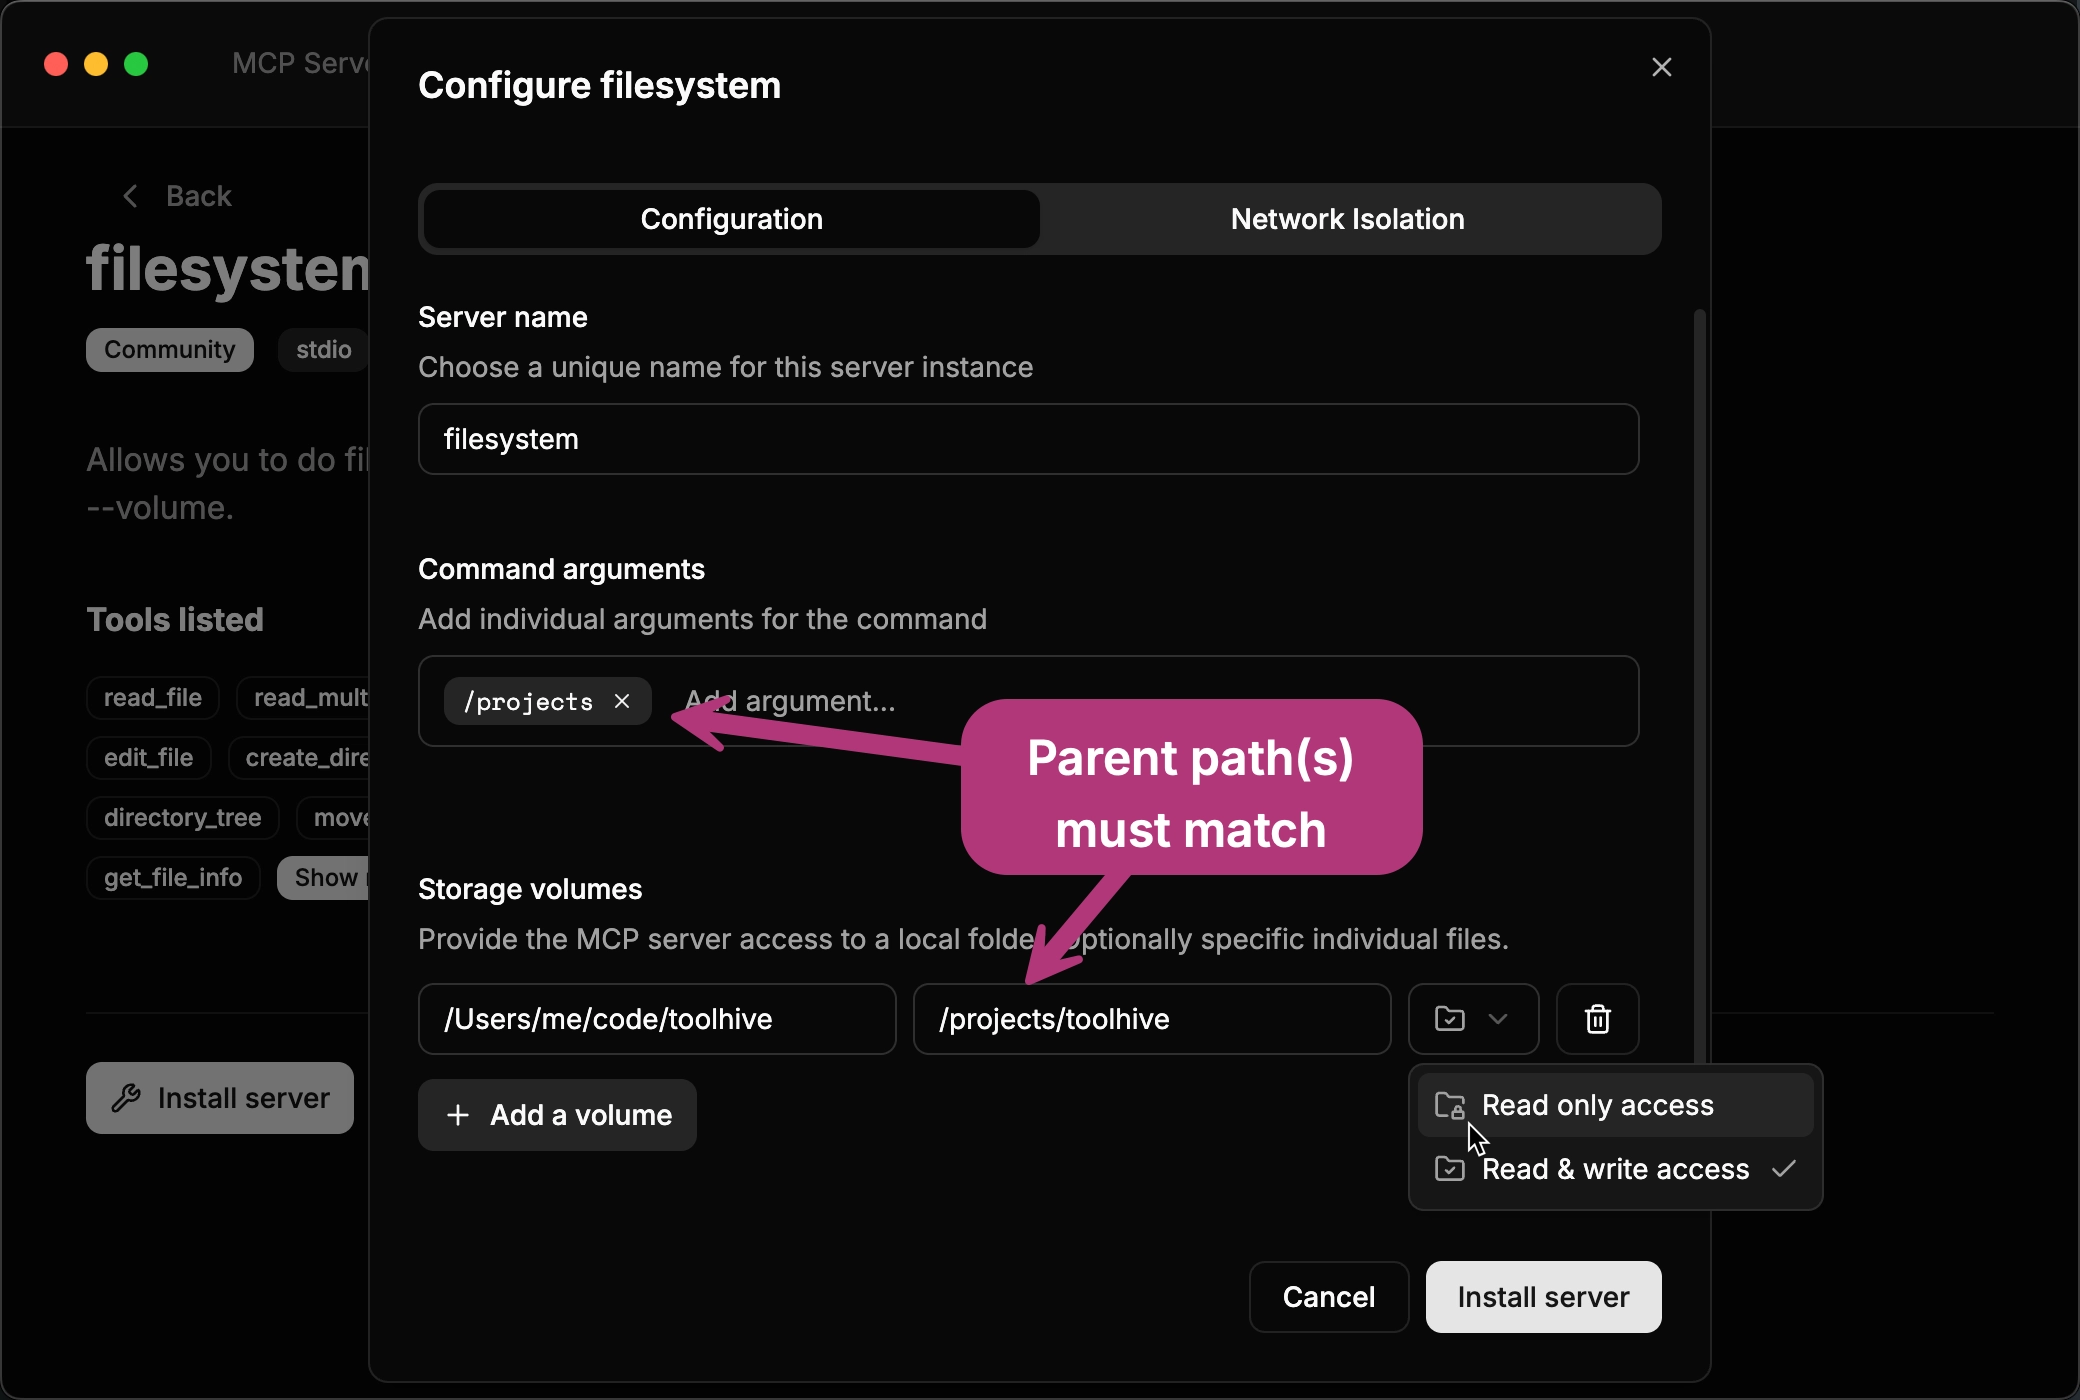
In the Storage volumes section, add local files or folders to expose to the MCP server. In the drop-down, choose whether to mount the volume as read-only or read-write.
By default, the server expects files to be located in /projects. If you use a
different container path, you must update the command arguments to replace
/projects with your custom path.


Since the server does not require any network access, enable network isolation and do not add any hosts or ports to completely restrict its outbound network access.
Mount a directory from the host filesystem to the MCP server using the default container path:
thv run --volume /path/to/host/directory:/projects filesystem
By default, the server expects files to be located in /projects. If you use a
different container path, you must update the command arguments to replace
/projects with your custom path.
Mount multiple files or directories by repeating the --volume flag. This
example mounts a directory under /projects and a file under /data, and
updates the command arguments accordingly:
thv run \
  --volume /path/to/host/directory1:/projects/dir1 \
  --volume /path/to/host/file.txt:/data/file.txt:ro \
  filesystem -- /projects /data
Since the server does not require any network access, add the
--isolate-network --permission-profile none flags to completely restrict its
outbound network access (see the
network isolation guide).
Create a Kubernetes manifest to deploy the Filesystem MCP server with a persistent volume.
Update the podTemplateSpec section to include your specific volume claim and
mount path:
apiVersion: toolhive.stacklok.dev/v1alpha1
kind: MCPServer
metadata:
  name: filesystem
  namespace: toolhive-system
spec:
  image: mcp/filesystem:1.0.2
  transport: stdio
  proxyPort: 8080
  args:
    - '/projects' # Update if you use a different mountPath below
  podTemplateSpec:
    spec:
      volumes:
        - name: my-mcp-data
          persistentVolumeClaim:
            claimName: my-mcp-data-claim
      containers:
        - name: mcp
          volumeMounts:
            - mountPath: /projects/my-mcp-data
              name: my-mcp-data
              readOnly: true
If you change the mount path from /projects, you must also update the args
section to include the path.
Apply the manifest to your Kubernetes cluster:
kubectl apply -f filesystem.yaml
Sample prompts
Here are some sample prompts you can use to interact with the Filesystem MCP server:
- "List all files in the
/projectsdirectory" - "Read the contents of the file
/projects/example.txt" - "Write 'Hello, World!' to the file
/projects/hello.txt"
Recommended practices
- Mount only the directories or files required for your AI agent's tasks to minimize resource usage and improve performance.
- Use read-only mounts for directories or files that do not need to be modified by the AI agent to prevent accidental changes.
- Enable network isolation to restrict the server's outbound network access, since the filesystem MCP server does not require any network connectivity.